Handle - hatchback models
Open the rear door, then remove the screws and remove the rear door trim panel.
Unscrew the two nuts, then separate the handle from the outside from the rear door. Note that the nuts also secure the lock cylinder assembly.
Installation is carried out in the reverse order of removal.
Handle - Estate and Van Models
The order of work is as indicated in the first paragraph of this section.
Remove the rear door lock cylinder assembly as above.
Remove the rear door wiper motor (see chapter 12).
Installation is carried out in the reverse order of removal.
Lock
The order of work is as indicated in the first paragraph of this section.
Disconnect the lever rods from the lock through the opening in the rear door.
Loosen the screws (three - on the hatchback model, four - on the station wagon model) and take out the lock.
Installation is carried out in the reverse order of removal, however, if necessary, adjust the position of the latch of the lock on the body so that it works satisfactorily.
Lock cylinder
Remove the screws and rear door trim panel.
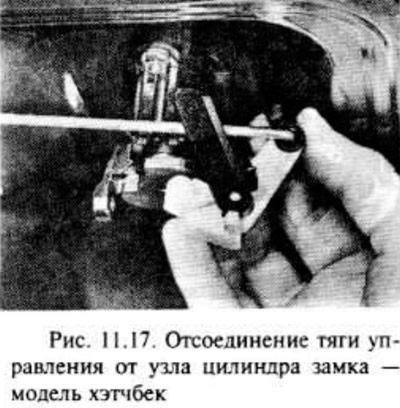
Disconnect the control rod from the lock cylinder assembly (pic. 11.17).

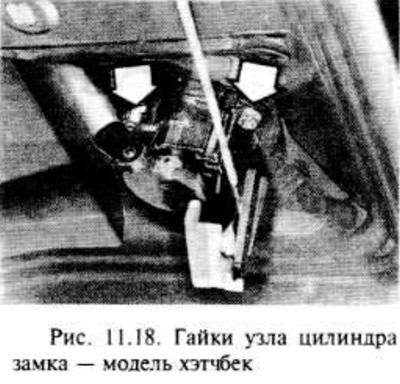
Loosen the two nuts and remove the lock cylinder assembly. Be aware that on hatchback models, these same nuts secure the tailgate handle (pic. 11.18).

Spare parts are not supplied for the lock cylinder assembly, and in case of breakage, the assembly is replaced completely.
Installation is carried out in the reverse order of removal.
Lock latch
The lock latch is screwed to the lower body panel.
If required, loosen the screws and remove the luggage compartment rear trim panel to access the lock latch bolts.
Before removing the latch, mark this position so that you can put it back in its original place.
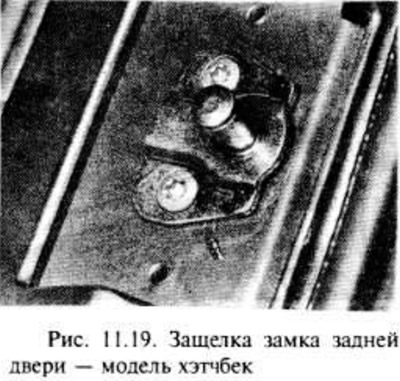
To remove the latch, simply unscrew the screws (pic. 11.19).

Installation is carried out in the reverse order of removal, however, if necessary, adjust the position of the latch so that the door closes satisfactorily.

Visitor comments