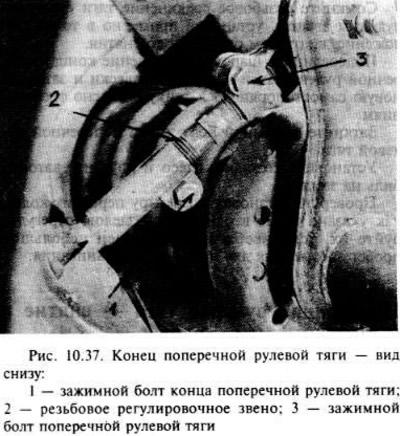
Loosen the tie rod clamp bolt that secures the tie rod end to the adjusting threaded link.
Remove the self-locking nut from the ball joint of the suspension strut and the end of the tie rod.

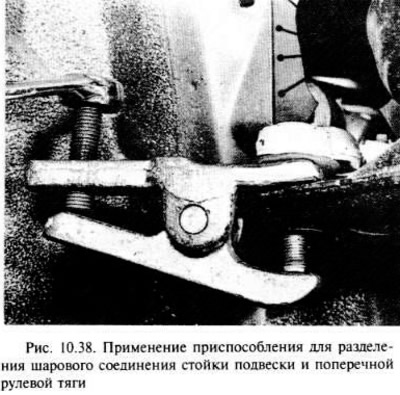
Using the tool, disconnect the ball joint of the suspension strut and the end of the tie rod (pic. 10.38.).

Mark the position of the tie rod end on the adjusting link by marking with paint or tape, or count the number of open threads, then disconnect the tie rod end. For information: the right side of the transverse link is marked with the letter R.
Close the threaded connection of the rod with the control link, setting approximately the same position in which they were before removal.
Connect the tie rod end ball joint to the suspension strut and tighten the new self-locking nut as required.
Tighten the tie rod end clamp bolt.
Install the road wheel and lower the vehicle to the ground.
Check the front wheel alignment as noted in one of the sections above, adjust if necessary. A small vehicle mileage is useful to check alignment.

Visitor comments