Removing
Disconnect the negative battery terminal.
Set the front wheels straight.
Loosen the clips in the driver's footwell and remove the bottom panel.
Remove the steering wheel as above. for better access to details.
Remove the steering column lock as described above.
Wring out latches and take out two push-button switches from a steering column, then disconnect plug-in contacts and take switches.
Remove the fuse box cover clips and the stamped plug clip from the hole in the panel below the steering column.
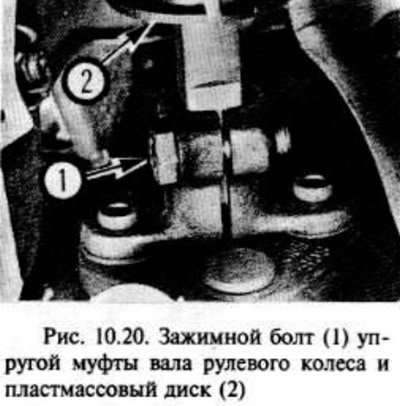
Unscrew and remove at the lower end of the steering wheel shaft the upper clamping bolt securing the steering wheel shaft to the flexible coupling.
Install the plastic disk, which should be loose on the lower end of the steering wheel shaft, and push it up the shaft so that it comes into contact with the steering column tube (pic. 10.20.).

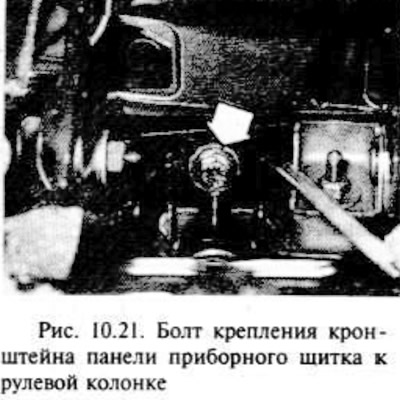
Using a bushing or bar, unscrew the bolt securing the steering column to the instrument panel bracket (pic. 10.21.).

Now you need to remove the two latches from the top bracket of the speaker. On the one hand, a regular nut is used, on the other, a shear bolt is placed.
The shear head bolt must be knocked out and the head drilled out, then using a bolt / stud remover, remove the bolt. Be careful not to damage the panel.
Remove the steering column assembly from the vehicle, being careful not to damage the column section with the resilient member.
If desired, the column can be disassembled, as indicated in the next section.
Installation
Check the position of the wheels, they must be straight. The plastic disk on the steering wheel shaft must be in contact with the column tube.
The flexible coupling must be positioned so that the upper pinch bolt is horizontal at the top of the steering wheel shaft.
Put the column in place and connect the elastic coupling. Install the clamp bolt, but do not fully tighten it.
Install the top retainers using a new shear bolt.
Install the steering column bolt to the instrument panel panel bracket and tighten as required.
Tighten the top fasteners. The shear bolt must be tightened so that the head will fly off, and the regular nut should be tightened to specification.
Pull up the steering wheel shaft until it rests against the bearing stop, then tighten the upper clamping bolt of the flexible coupling.
Remove the plastic centering disc from the base of the column tube and leave it loose on the steering wheel pad.
Further installation is carried out in the reverse order of removal. Install the steering wheel as above.
After completing all the operations, maneuver the vehicle at low speed, then go to check along the route with several turns and make sure that the steering mechanism works smoothly.

Visitor comments