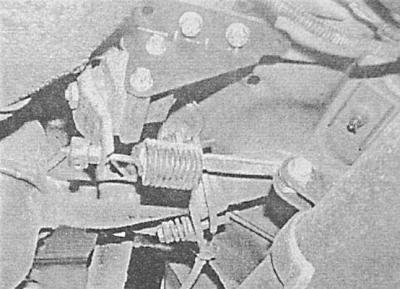
Removing
1. Support the front wheels with wheel chocks, jack up the rear of the vehicle and support it on jack stands.
2. Remove the cap from the GTZ reservoir, pour fresh liquid into the reservoir if necessary, then place polyethylene under the cap and screw it into place.
3. Turn out a fixing bolt and remove the bearing of a tension spring from an arm on the bottom.

4. Try to remember the mounting position of the spring stopper, unscrew the fixing bolt and remove the stopper. Remove the spring from the valve lever.
5. Thoroughly wipe the nipple connectors for connecting the hydraulic pipes to the valve. Loosen the union nuts and disconnect the tubes.
6. Turn out fixing bolts and remove the valve regulator from an arm on the bottom of the car, - try not to damage brake pipes.
Control valves are available in three types.
Installation and adjustment
Installation is carried out in the reverse order to the dismantling of the components.
1. Make sure all fasteners are tightened to the correct torque. Finally, bleed the brake system (see Bleeding the brake system) and adjust the valve (see below)
2. The car must be unloaded, the fuel level in the tank must not exceed half, the tires must be inflated with normal pressure. On models equipped with a ride height control valve, the system pressure must be at least 0.8 bar. The vehicle must be on wheels with a normal load on the rear axle.
3. Ask an assistant to squeeze and quickly release the foot brake pedal - the regulator lever should twitch, confirming that the system is functioning correctly. If the lever is immobile, the valve must be replaced.
4. If the stopper does not touch the valve lever, move the lever all the way forward, then release. Now install the stopper on the spring so that the gap is fully selected, and fix the bolt in this position
5. Lower the vehicle to the ground.

Visitor comments