Both struts should be replaced at the same time to maintain the vehicle's stability and handling characteristics. It is also recommended that all threaded fasteners be replaced without fail.
Front suspension strut design
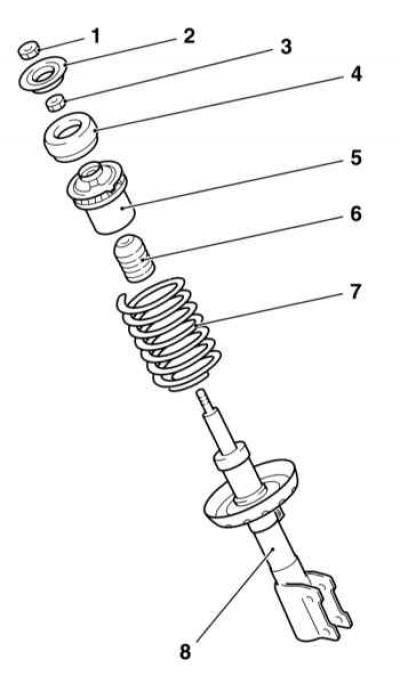
1 — Nut of the top support
2 — Plate of the top support
3 — Nut of fastening of a rod of the shock-absorber
4 - Rubber damper
5 - Bearing
6 - Buffer stroke compression
7 - Helical spring
8 - Rack Assembly
Removing
1. Apply the parking brake, jack up the front of the vehicle and place it on jack stands. Remove the corresponding front wheel.
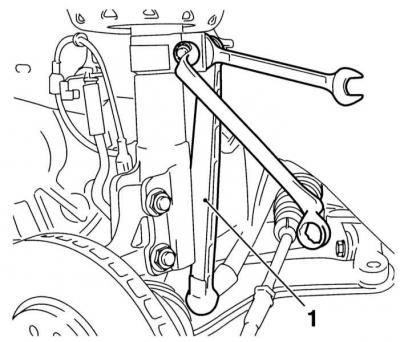
2. Holding your finger from turning by the flats with an open-end wrench, give the nut securing the vertical link of the anti-roll bar. Disconnect the link from the suspension strut.
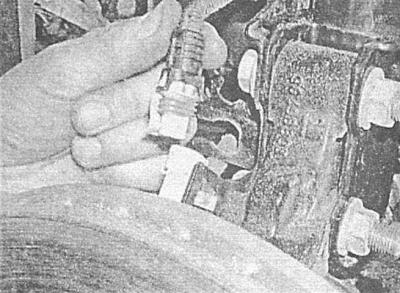
3. Remove the retainer and release the hose from the support bracket on the column.
4. Release from a clamp on a rack electroconducting of the gauge of wear of pads. On models with ABS Disconnect the wiring from the wheel sensor.
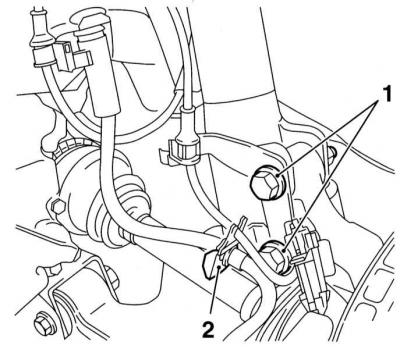
5. Mark position of a rack in relation to a rotary fist, turn out two bolts of fastening (2) racks to the steering knuckle - try to remember the installation position of the bolts. Release the fist from the bracket (1) on a stand and place it on a suitable support.
6. Ask an assistant to hold the rack through the wheel arch. In the engine compartment, remove the protective cap of the upper strut support and loosen the upper fixing nut - hold the shock absorber rod from turning with the second wrench.
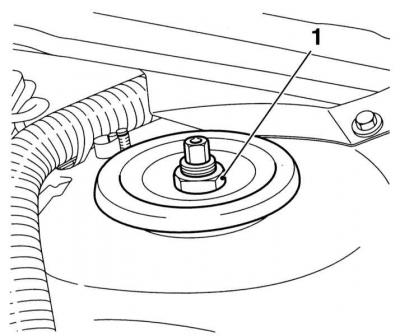
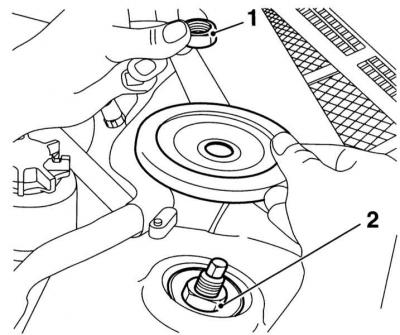
7. Remove the upper support plate from the rack, - on Zafira models in order to provide access to the nut (2) you will have to remove the plastic deflector installed in front of the windshield.
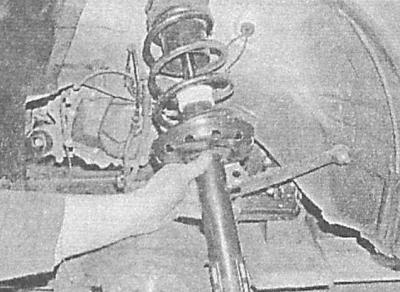
8. Lower the strut and remove it through the wheel arch.
Repair
To carry out this operation, you will need a device for compressing helical springs.
1. Clamp the rack assembly in a soft-jawed vise and, using the special tool, compress the helical spring, completely removing the load from the cups. Make sure that the clamping device is securely seated on the spring - act strictly in accordance with the instructions set out in the manufacturer's instructions.
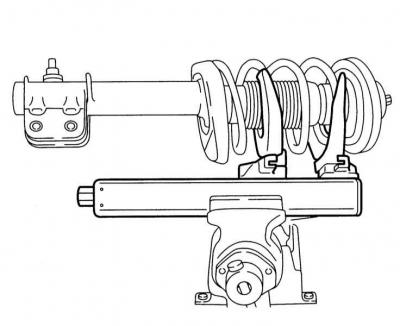
2. While holding the shock absorber rod with a wrench, unscrew the nut.
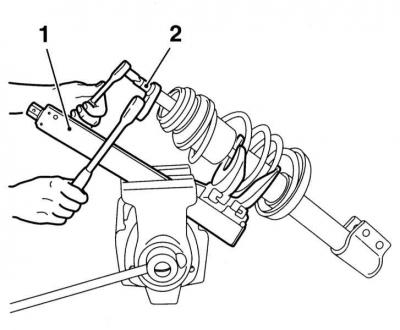
3. Remove the upper rubber damper, upper spring cup with bearing, compression stroke buffer (if provided) and coil spring (see illustration Front suspension strut design).
4. Inspect the components for mechanical damage, check the smoothness of the shock absorber rod. Replace failed components.
5. Examine the strut shock absorber for signs of leak development. Make sure that the stem along its entire length does not show signs of corrosion damage to the metal, as well as signs of mechanical damage. Holding the shock absorber vertically, check the correct operation of its operation, both at full and short (50-100 mm) stroke of the stock. In both cases, the resistance should be soft, even and constant. If signs of a malfunction are detected, both shock absorbers should be replaced.
6. Remove the spring compression tool and carefully inspect it for signs of deformation and mechanical damage. If necessary, replace both front suspension springs. Springs that have sagged and do not develop proper force are also subject to replacement.
7. Check the condition of other rack assembly components. Replace failed parts.
8. Compressing the spring again, install it on the rack, resting the lower end against the stopper.
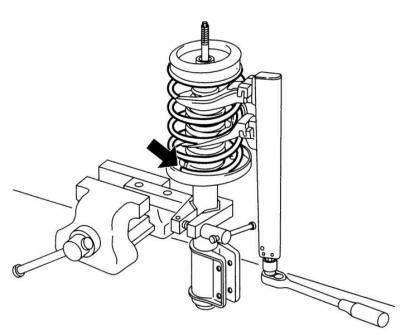
9. Install bumper, top cup and damper with bearing.
10. Screw on the stem nut and tighten it to the required torque, holding the stem from turning with a second wrench.
11. Slowly release the spring and make sure both ends of the spring rest against the cup stops. If necessary, correct the positions of the cups accordingly, only then finally remove the compressing device from the spring.
Installation
Installation is carried out in the reverse order to the dismantling of the components. Pay attention to the following points.
1. Replace two bolts of fastening of a rack to a rotary fist and both top nuts.
2. Tighten all fasteners to the correct torque.
3. Finally, take the vehicle to a specialist workshop to have the front wheel alignment checked and corrected.

Visitor comments