Removing
1. To ensure adequate access, remove the relay mounting block from the top of the anti-lock brake hydraulic modulator (ABS). Remove and set aside the relay holder support bracket.
2. Thoroughly wipe the outer surface of the master cylinder and place a wad of rags under it to catch any spilled hydraulic fluid.
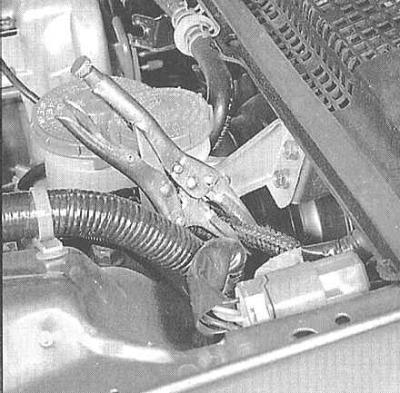
3. Use a clamp to clamp the supply hose connecting the tank to the master cylinder.

The hose should be pinched at a distance of about 5 cm from the cut of the end stretched over the cylinder fitting. Seal the opening in the reservoir immediately to prevent dirt from entering the tract.
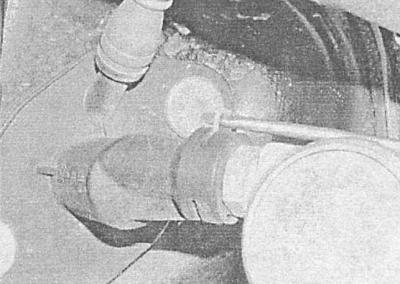
4. Remove the retainer, move the clamp and disconnect the hydraulic tube from the master cylinder - in order to minimize the loss of hydraulic fluid, wrap the fitting assembly with rags. Cap the open ends of the line and fitting immediately to prevent dirt from entering the system.

To avoid damage to the paintwork, do not allow hydraulic fluid to get on the painted surfaces of the body panels! Remove the o-ring from the nipple connector; during assembly, it must be replaced without fail.
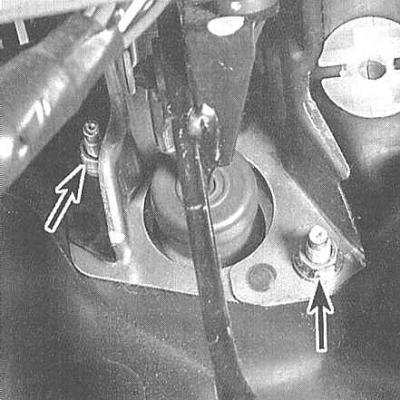
5. In the passenger compartment, disconnect the return spring from the clutch pedal. Remove the lower left section of the instrument panel trim (see chapter Body), release the lock, remove the pin and disconnect the split finger of the pusher of the main hydraulic cylinder from the clutch pedal.
6. In the same place give two nuts of fastening of the main cylinder to a partition of an impellent compartment / a basic arm of a pedal. Go to the engine compartment and remove the master cylinder assembly with gasket.

Installation
Prepare a new O-ring for the nipple connector to the hydraulic tube master cylinder.
1. Make sure that the mating surfaces of the clutch master cylinder assembly and the bulkhead of the engine compartment are absolutely clean and dry. Reinstall the seal.
2. Get the main cylinder to its regular place and fix it with bolts, by hand tightening the nuts of the latter.
3. Restore the original connection of the hydraulic lines - do not forget to replace the sealing elements and make sure the fittings are securely fixed.
When connecting the hydraulic tube to the master cylinder, the nipple connector should make a characteristic click.
4. Tighten the cylinder nuts to the required torque.
5. Connect the cylinder pusher to the clutch pedal and fix the split finger with a new pin - before installing the pin, lubricate it with universal grease. Connect the return spring to the pedal, then reinstall the lower section of the instrument panel trim.
6. Replace the relay holder bracket and mounting block.
7. In conclusion «pump» hydraulic path to remove air pockets from it (see Removal of air from the hydraulic path of the clutch release drive).

Visitor comments