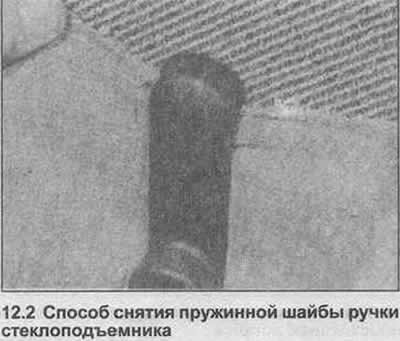
2. Pass a piece of fabric behind the handle. to remove the power window handle spring washer (photo).
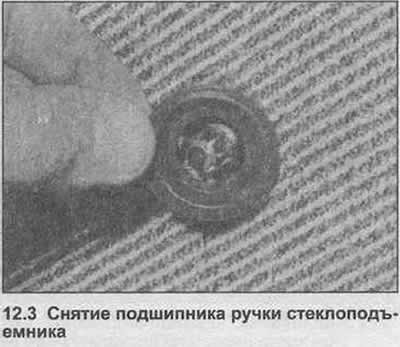
3. Remove the bearing (photo).
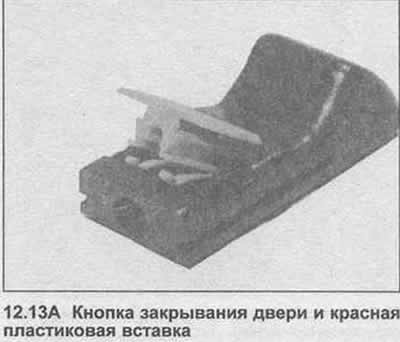
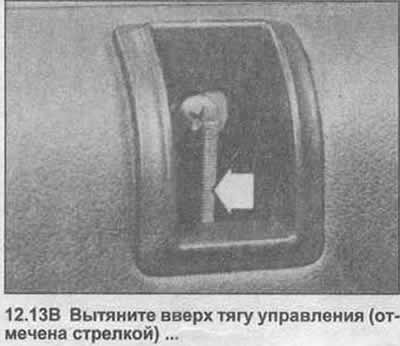
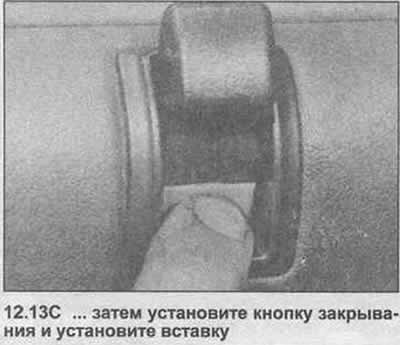
4. Disconnect the button for closing the door from the control rod. To do this, use the lever on the outside of the button to remove the red plastic insert, then remove the button from the stem.
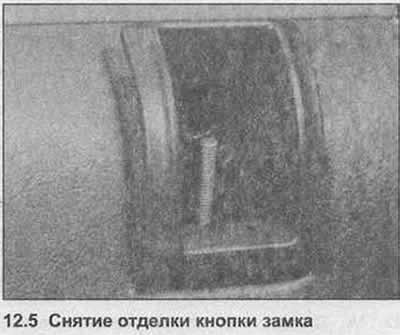
5. With the button removed, unscrew the screw and remove the trim (photo).
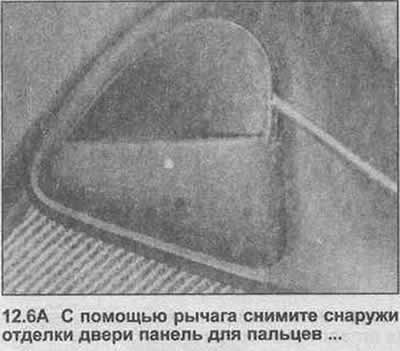
6. Using a lever, remove the finger panel from the outside of the door trim and remove the screw (photo).
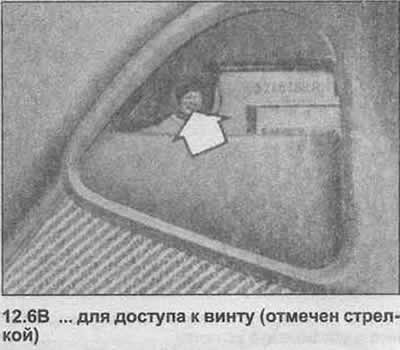
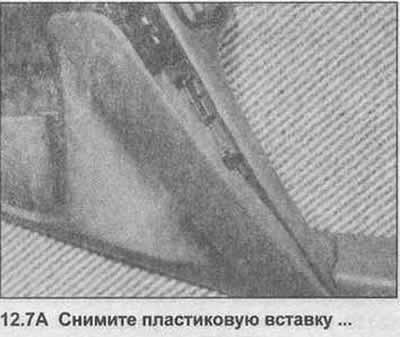
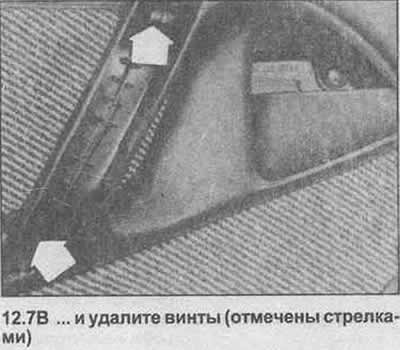
7. Remove the plastic insert with a lever and remove the exposed screws (photo).
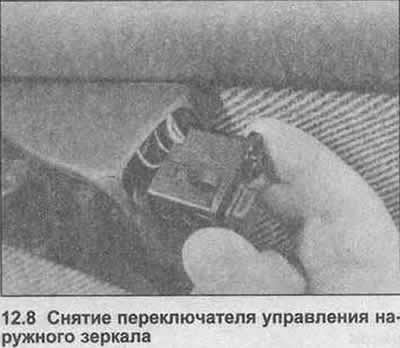
8. Where equipped, remove the exterior mirror control switch and disconnect the wires (photo).
9. Where equipped, use the lever to remove the power window switch and disconnect the electrical wiring (photo).
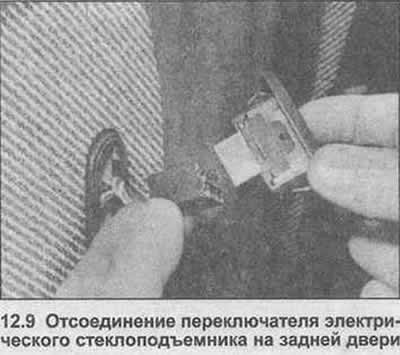
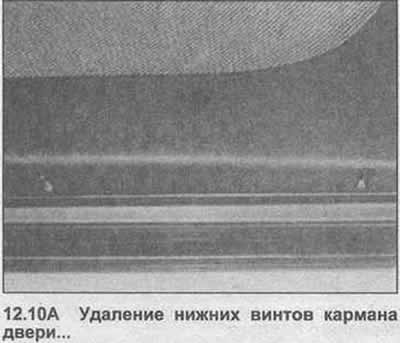
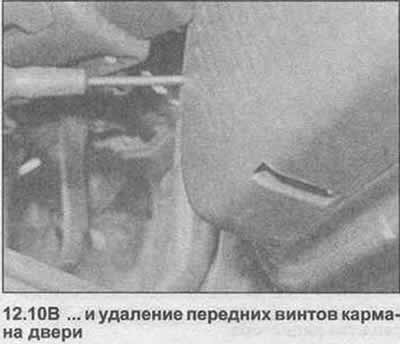
10. Where equipped, remove door pocket screws (photo). Also remove the rear brace inside the pocket.
11. Using a special tool (photo), remove the trim panel from the door. To avoid breaking the plastic staples, insert the tool as close to them as possible.
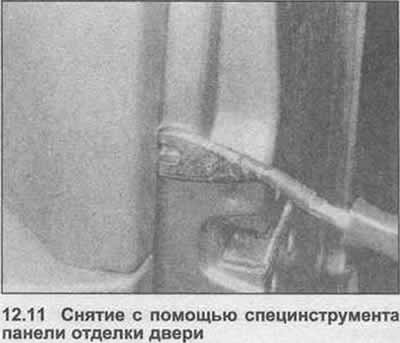
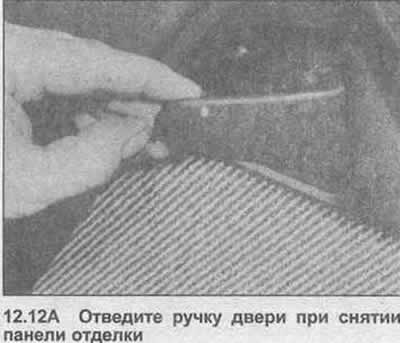
12. Remove the trim panel, with the door handle slightly retracted inward. Disconnect the switch wire pins (photo).

13. Assembly is carried out in the reverse order. When reinstalling the door close button, pull up on the control rod, secure the button to the rod so that the red notch of the insert just shows, then push the insert down.
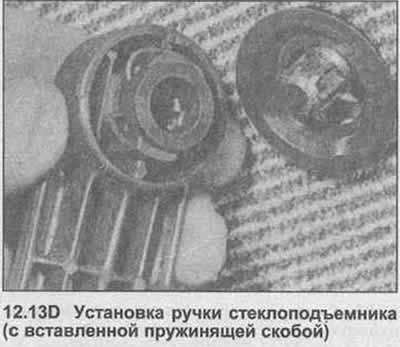
14. When installing the power window handle, secure the spring clip and fit the handle onto the splined shaft (photo).

Visitor comments