Removing
Disconnect wire "masses" from the battery.
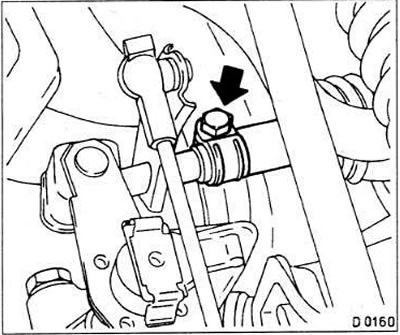
Loosen the fastening clamp of the gearshift linkage (see arrow in fig.).
Engage 2nd or 4th gear and disconnect the linkage.
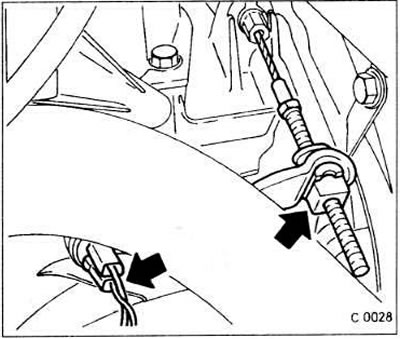
Remove the clamp on the clutch cable end with a screwdriver (see fig.C0028).
Pull the clutch release lever back with a pry bar and remove the clutch cable tie rod.
Disconnect the connector from the reversing light switch.
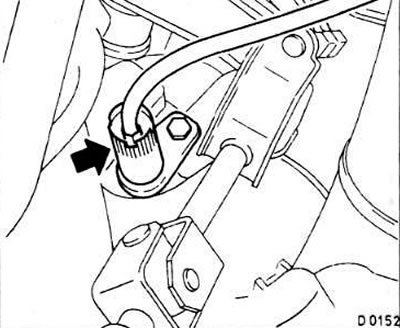
Loosen the speedometer cable bolt. Loosen the gearbox mounting bolts and remove the speedometer drive. On vehicles equipped with Motronic fuel injection, disconnect the connector from the electrospeedometer (see fig.).
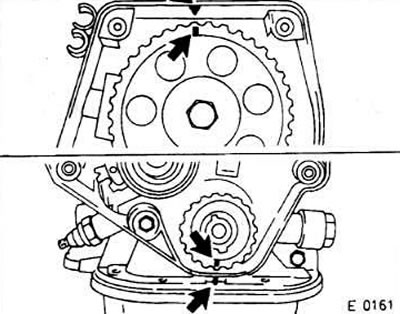
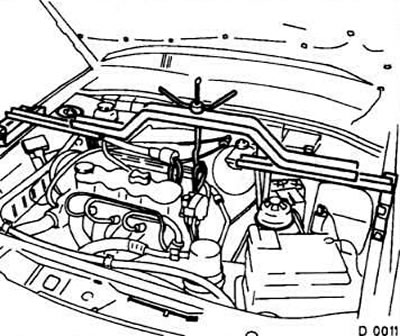
Mount the engine on a special lift Opel KM-263. In the absence of a lift, hang the engine on a piece of pipe, resting it on the wings of the body. Attention! Place wooden pads under the pipe so as not to damage the wings.
Loosen the front wheel bolts.
Mark with chalk the position of the wheel rim relative to the wheel hub.
Raise the vehicle and place it on stands.
Remove front wheels.
Remove the exhaust pipe from the exhaust system.
Remove the front suspension strut.
Disconnect the axle shafts from the gearbox.
Attention! When removing the axle shaft, oil flows out, so you must immediately close all openings. Hang the half shafts on a wire. When installing the axle shaft, replace the oil seal.
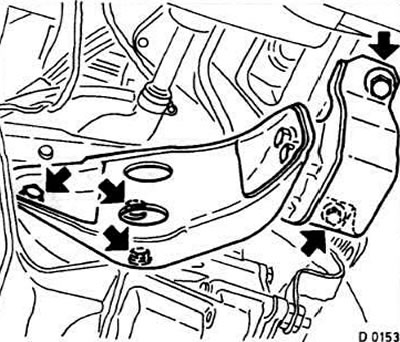
Loosen the left front engine mount bracket bolts (see fig. D0153).
Disconnect wire "masses" from the battery.
Lower the car.
Lower the engine 5 cm. The clutch release lever must be below the level of the body side member.
Place the car on stands.
Remove the gearbox input shaft from the clutch housing.
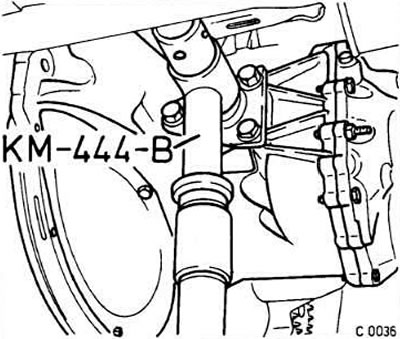
Support the gearbox with a hydraulic jack. If there is an Opel KM-B tool and a hoist, the box can be fixed on the specified device and lifted with the help of a hoist. To do this, install the Opel KM-444-B fixture on the gearbox and fix it with three locking bolts (see fig.).
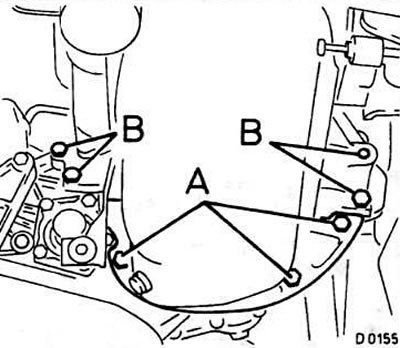
Loosen bolts A securing the gearbox cover (see fig.).
Loosen bolts B securing gearbox to engine.
Press gearbox off cylinder block and pull downwards.
Attention! Lay down the gearbox carefully. Do not support it on input shaft, gear shift rods, clutch release lever, reversing light switch and speedometer drive.
Installation
Before installing the gearbox, check the clutch.
Check the threads for mounting the shock absorber on the left front beam. If necessary, carefully clean the threads with an M10x1.25 tap.
Raise the gearbox and install it on the cylinder block.
Alternately tighten the gearbox mounting bolts to 75 Nm.
Tighten housing cover bolts to 7 Nm.
Install clutch and insert gearbox input shaft. To do this, raise the gearbox, providing access for the Opel K-564 fixture.
Tighten the wire fixing bolt "masses".
In 150 hp engines. especially pay attention to the wire "masses" did not rub against the plastic coating of the engine compartment. If you start the engine with an unconnected wire, the computer may fail.
Tighten the bolts securing the shock absorber of the left front engine mount to the gearbox to a torque of 65 Nm.
Tighten bolts on left front axle stringer to 75 Nm. Use only new bolts. Align the gearbox with a hydraulic jack.
Install axle shafts.
Install the front suspension beam.
Install the shift sleeve onto the shift lever splines. Adjust the sleeve position later.
Install the exhaust pipe.
Tighten the front wheel bolts.
Lower the car.
Remove the engine jack.
Tighten upper gearbox-to-engine bolts to 75 Nm.
Connect the reversing light connector to the transmission.
Install the speedometer shaft at the gearbox and tighten its fastening bolt (on vehicles with Motronic fuel injection system, connect the connector).
Connect the clutch cable.
Tighten the wheel bolts crosswise.
Check the oil level in the gearbox.
Adjust the gearbox control actuator.

Visitor comments