Lamp replacement
On the left side, remove the synthetic facing from the upholstery of the rear wall.
On the right side, turn the button to open the trim of the first aid kit and the emergency triangle.
Push aside the locking tab in the middle of the lamp support and remove the lamp support.
Replacing an incandescent lamp in all cases is carried out in the same way - lightly press the lamp in the cartridge, turn to the left and remove.
When installing a rear/fog lamp with two filaments, please note that its side mounting tabs are at different heights. As a result, the lamp can only be inserted without force in a certain position.
Dismantling
Remove the lamp support (see lamp replacement section).
Loosen the body mounting screws on the trunk or cargo area.
Remove the lamp housing from the outside.
If the body is glued to the body due to the padding laid, then it can be carefully squeezed out of the metal with a screwdriver wrapped in a rag.
Reversing light switch
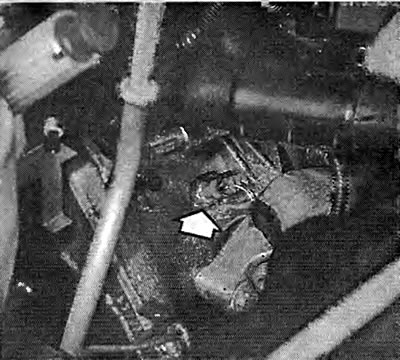
The flashing of the reversing lights is provided by a switch on the gearbox (see photo on next page), if the appropriate shift fork shaft touches it when reverse gear is engaged.
If the rear lights do not light up when the reverse gear is engaged, then first check fuse 38.
If OK, disconnect the reversing light switch connector and short with a piece of wire.
If the lights are now on, the switch is faulty.
But if the reversing lights are not on, then there is no conductivity in the wire going back (with good incandescent bulbs).

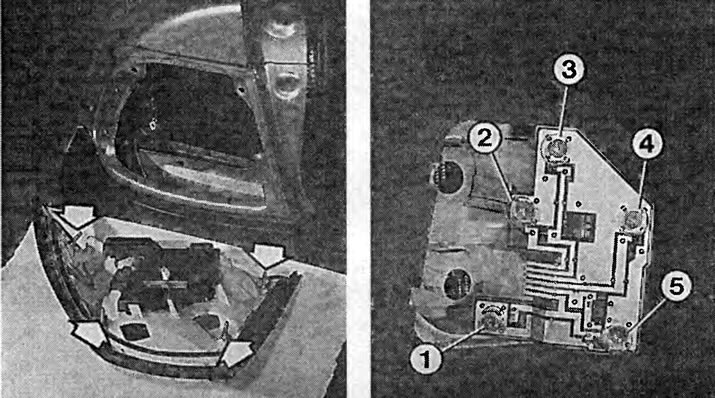
Left: dismantled left rear light. The arrows show the mounting screws of the lamp housing.
On right: The photo shows the left lamp base at the rear of a Limousine. In the support we will find lamps;
1 - rear light;
2 - indicator lights on the gate;
3 - brake light;
4 - reversing lights;
5 - fog lamp.

Reversing lights turn on and off with a switch (arrow) at the top of the manual transmission.

Visitor comments